Getting Started
MyLightedge has no sign-up process. New customers are onboarded via Lightedge’s Managed Services Team until an Organization Admin is in place for your company. Once this position exists your company’s Organization Admin will have the ability to add new team members to MyLightedge granting them either MyLightedge Portal access or things such as physical data center access.
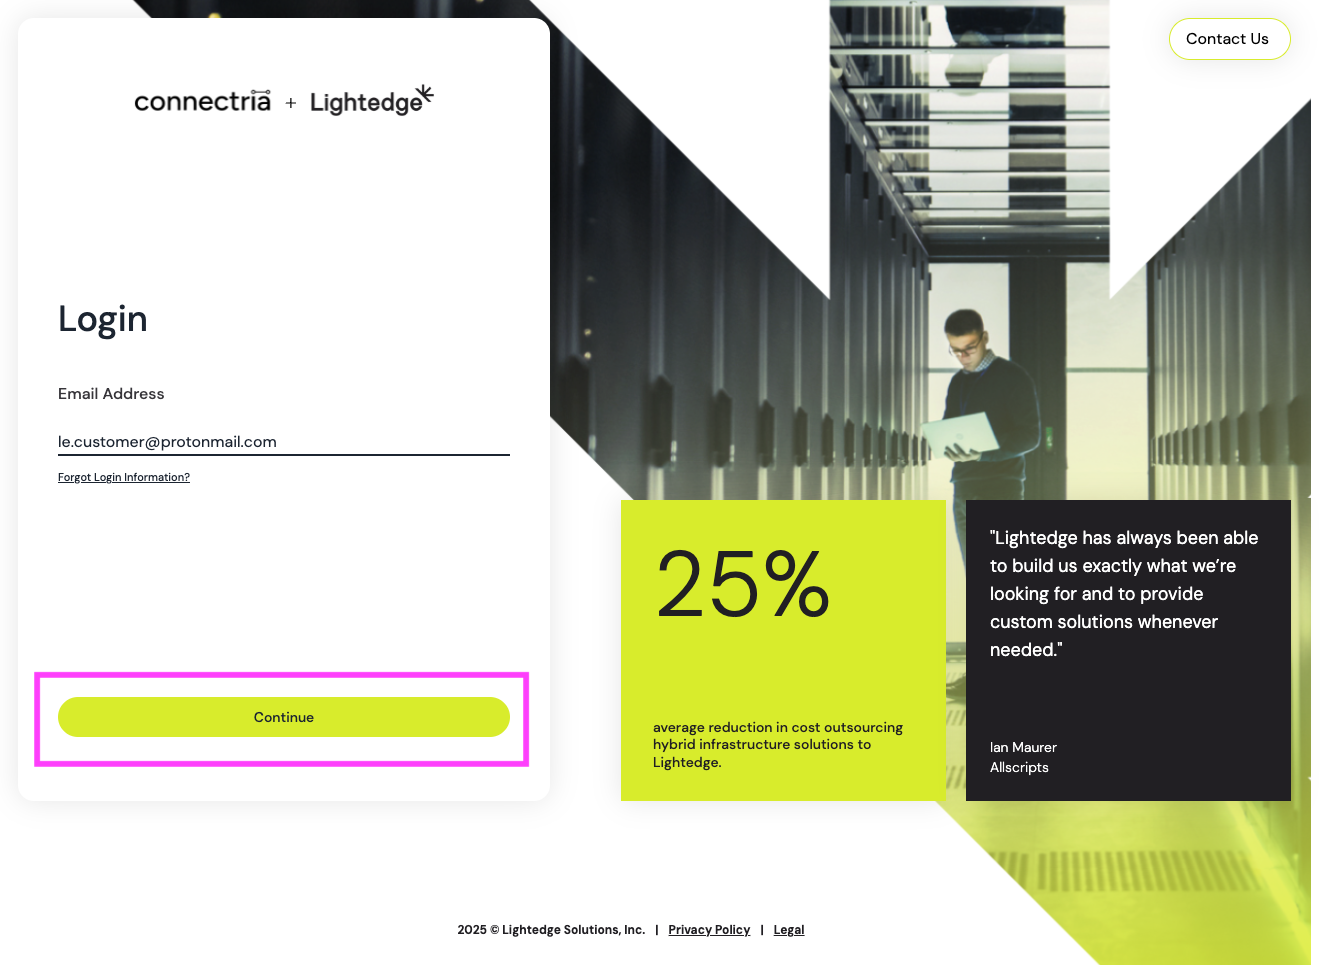
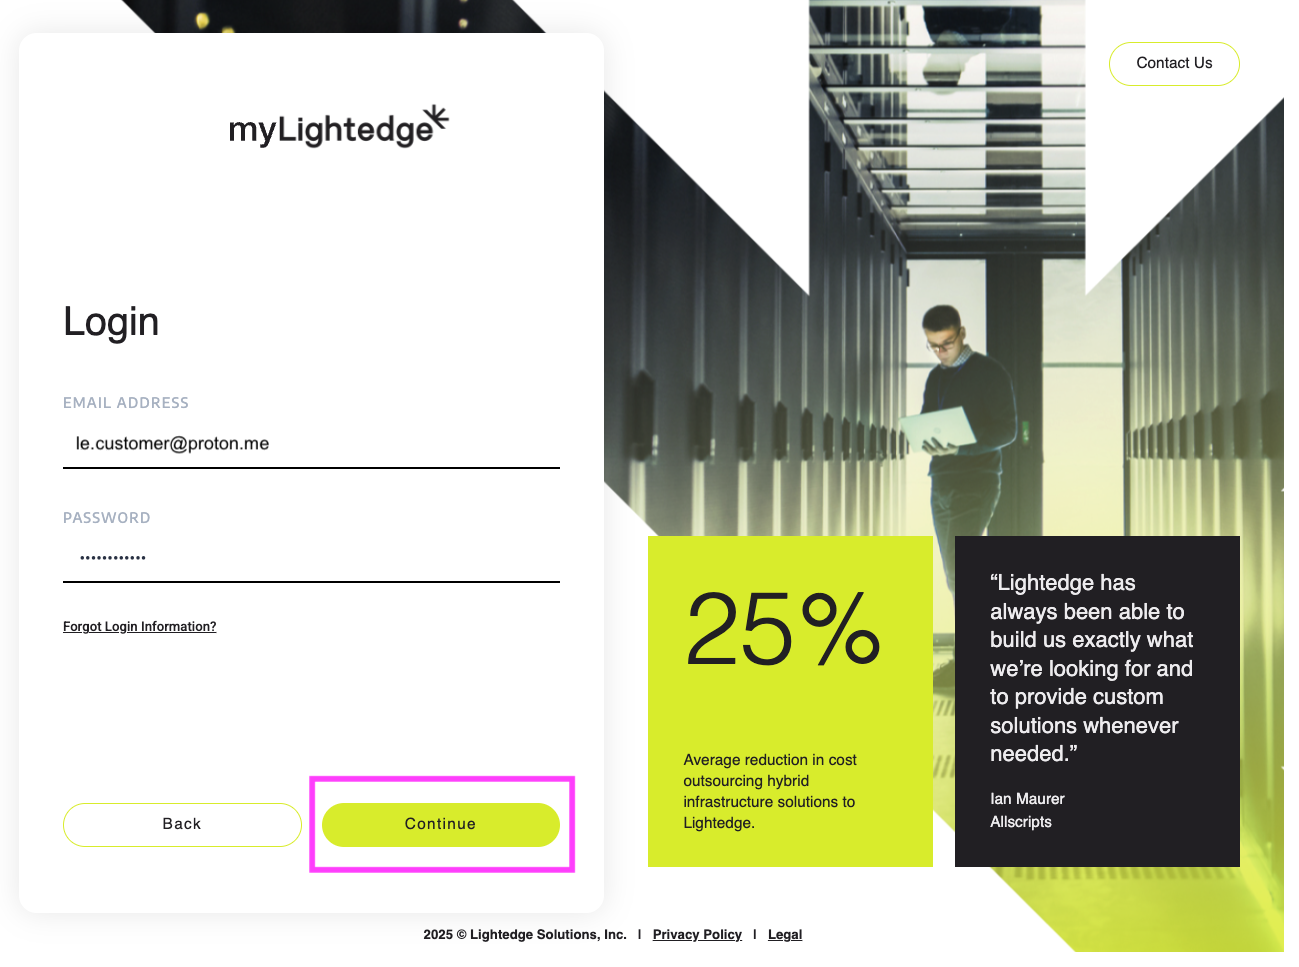
To login to MyLightedge, visit https://portal.mylightedge.com/ to sign in with your user credentials through our new combined login experience:
Your MyLightedge Onboarding Experience
Once added to MyLightedge, you will receive a welcome email with a link to create your account.
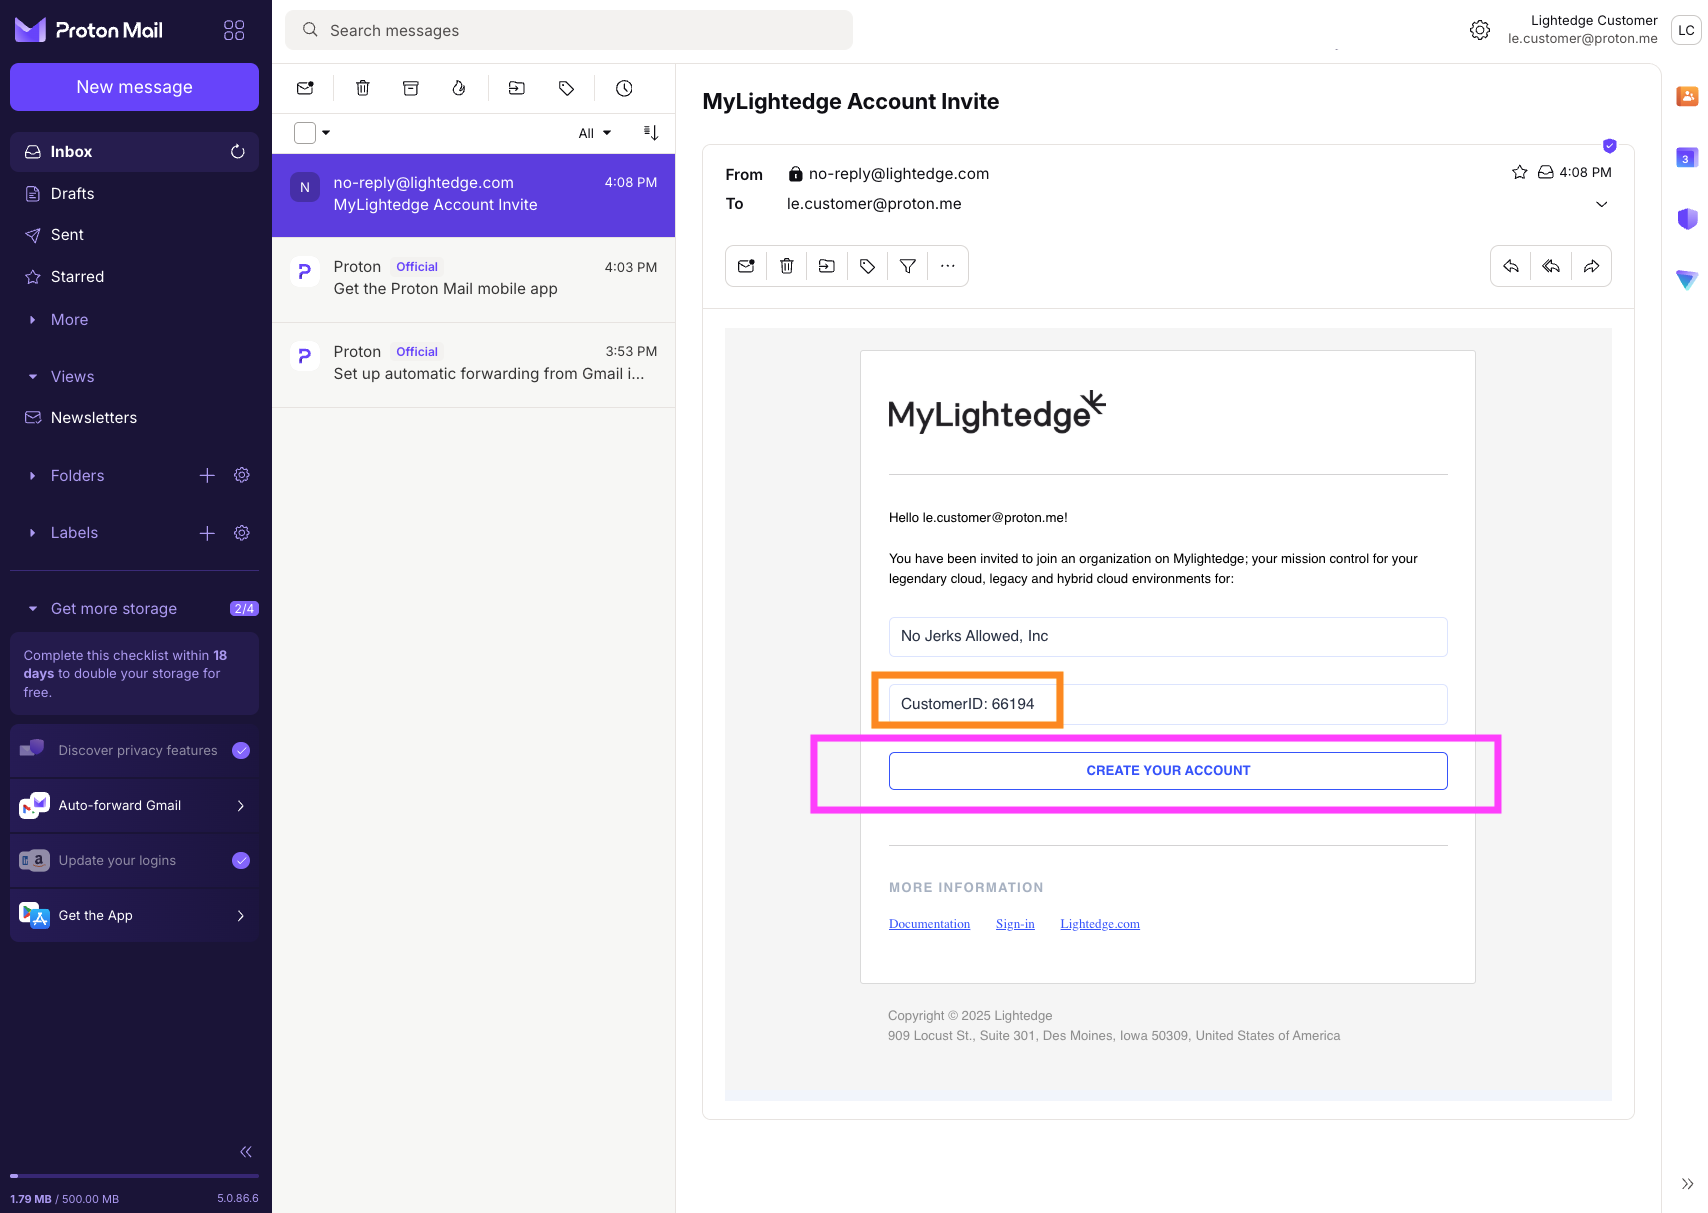
Clicking on the ‘Create your account’ button directs you to a ‘Welcome’ screen where you will be asked to enter the customer ID provided to you in your welcome email:

Next you will enter the email address that your welcome email came to.
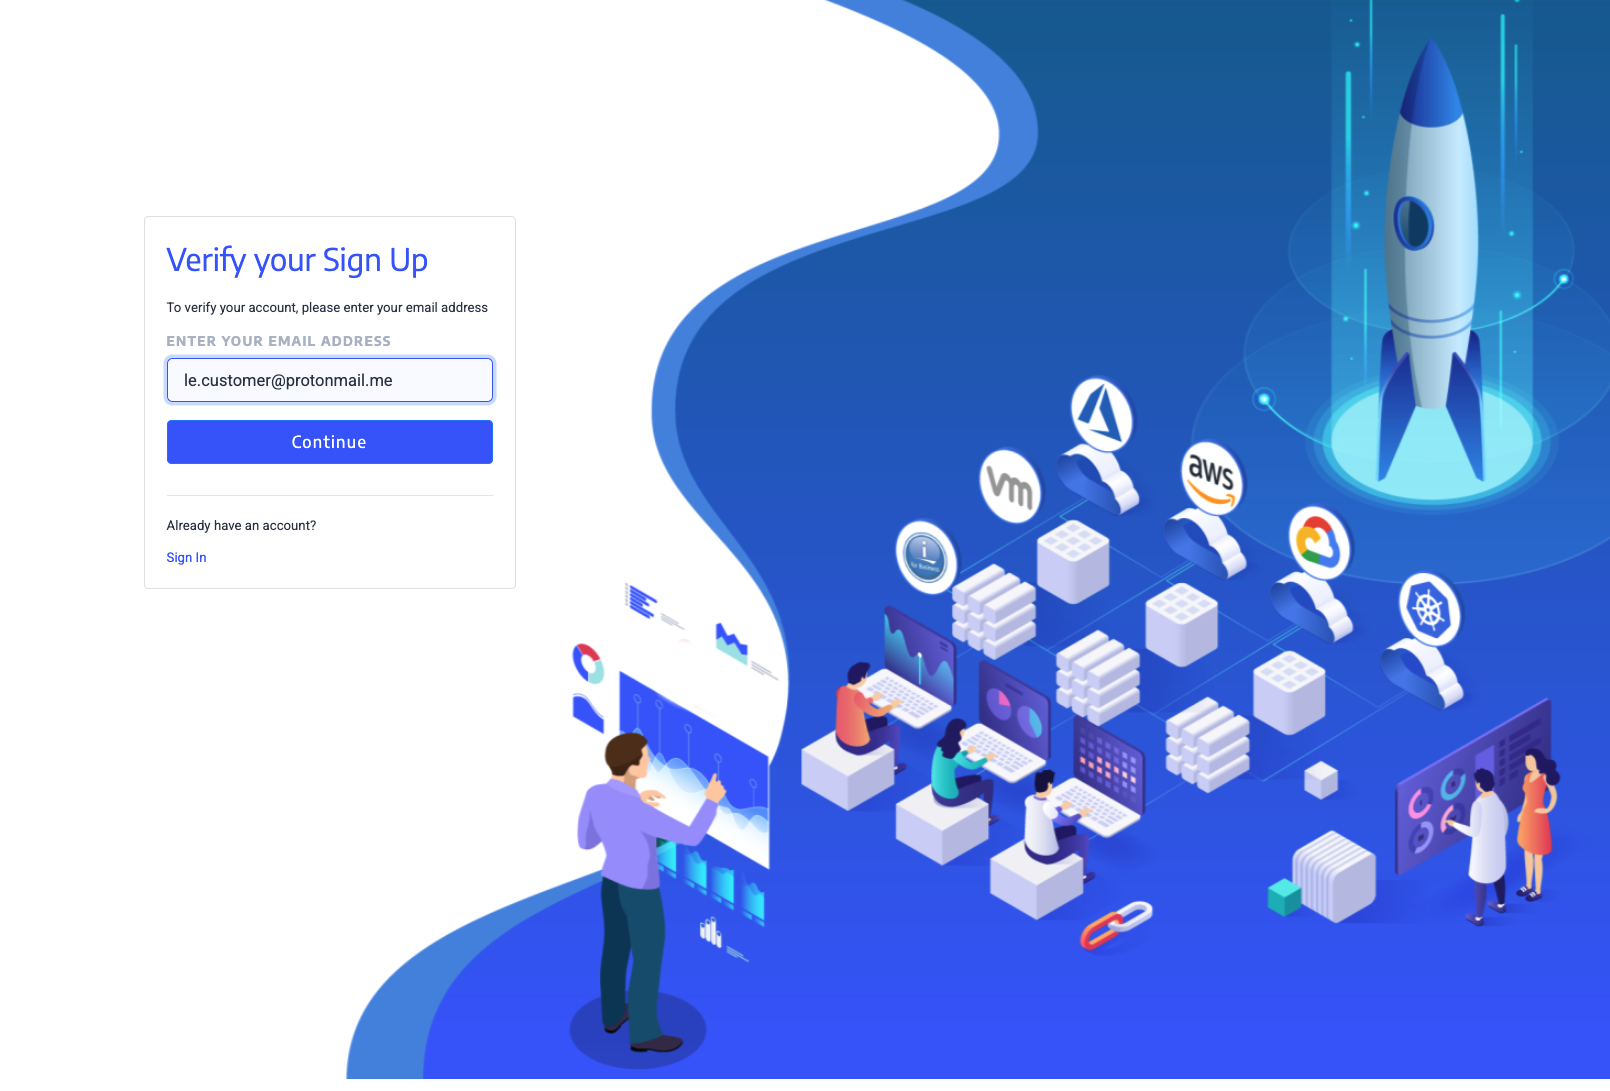
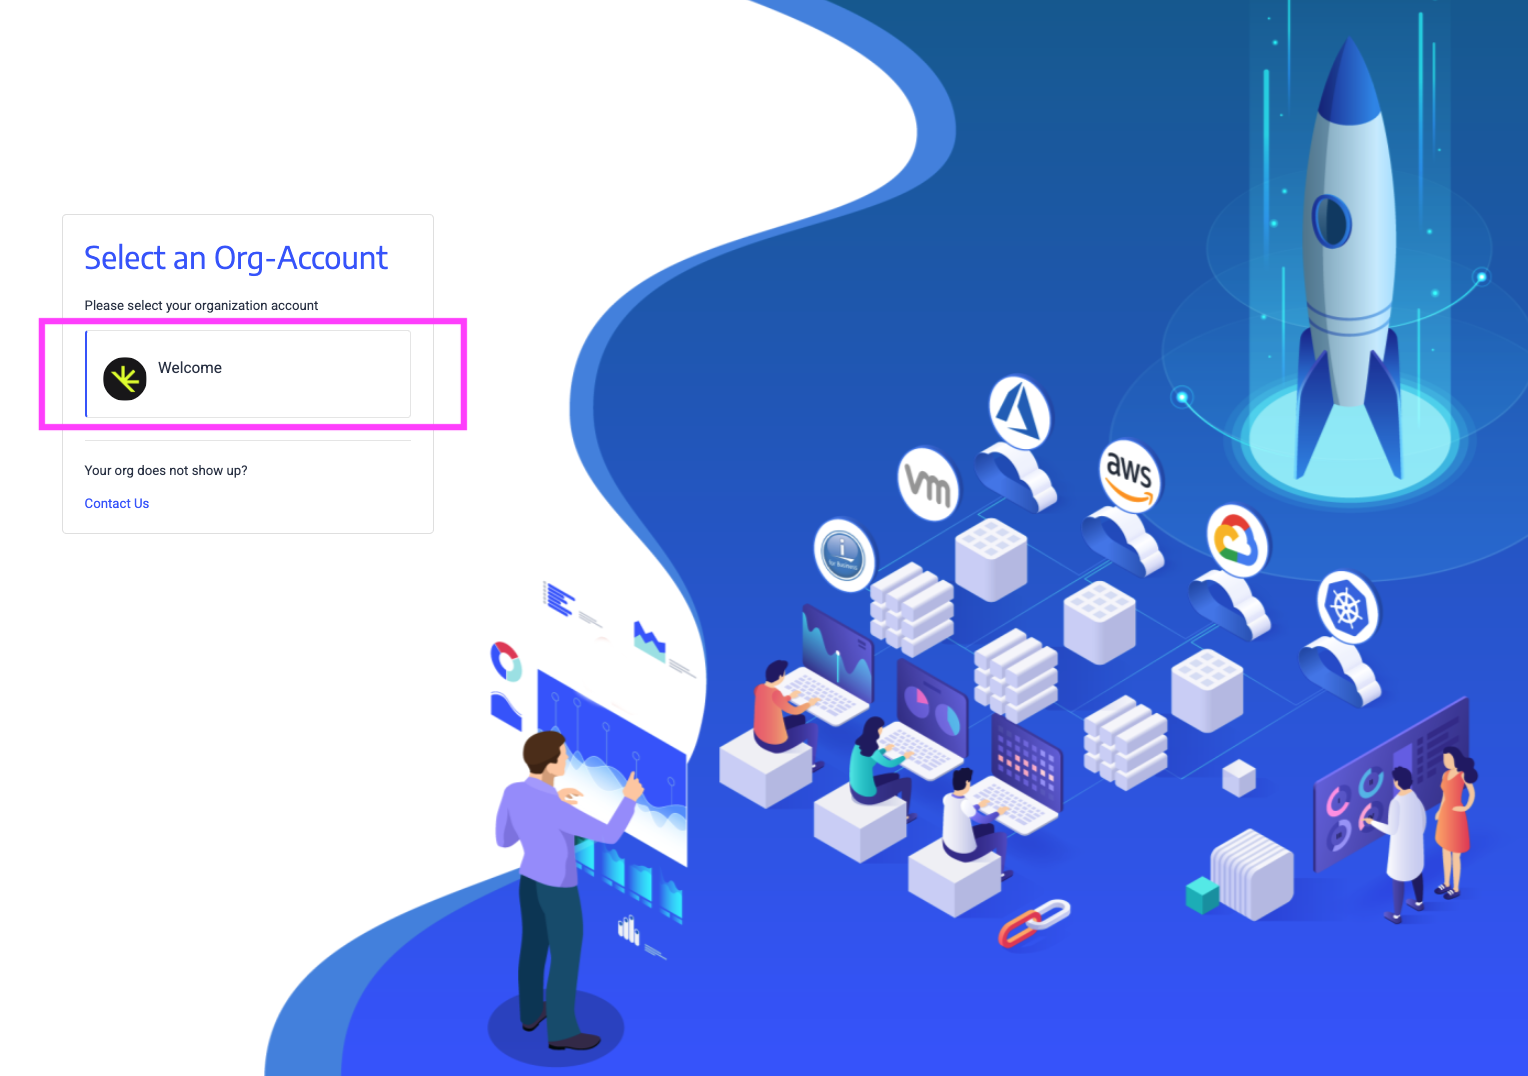
Lastly, you will be asked to click on your organization name to confirm your login.
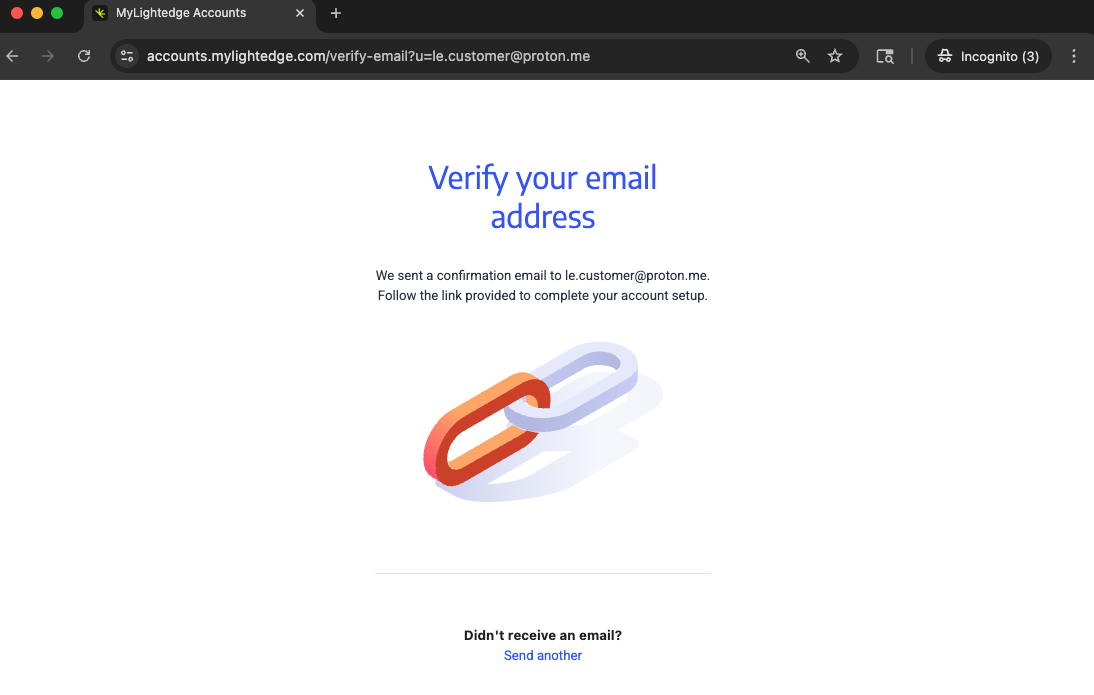
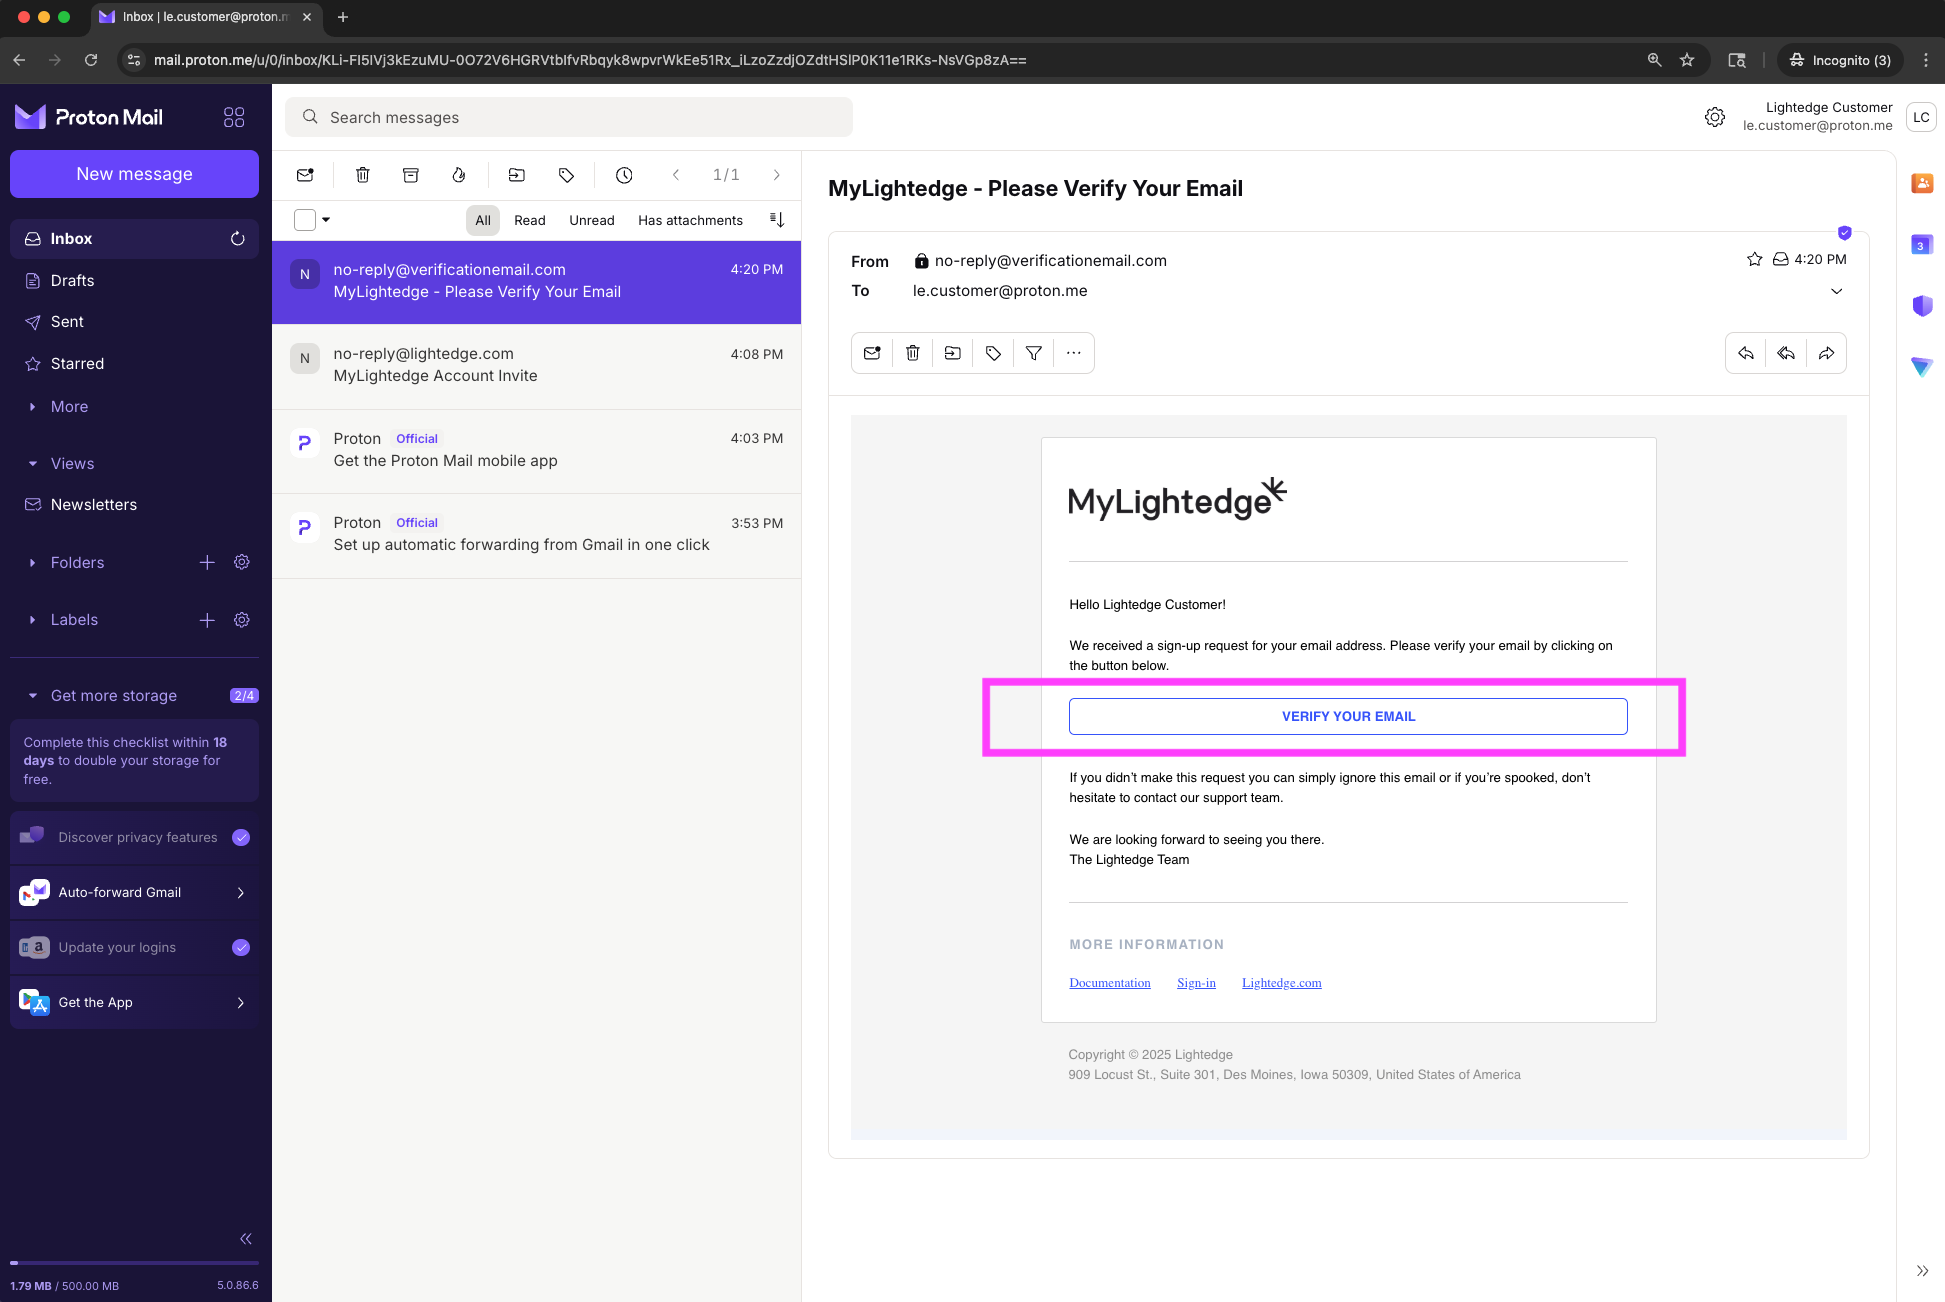
A new email will be sent to your inbox so you can verify your email. Click the ‘Verify Your Email’ button.
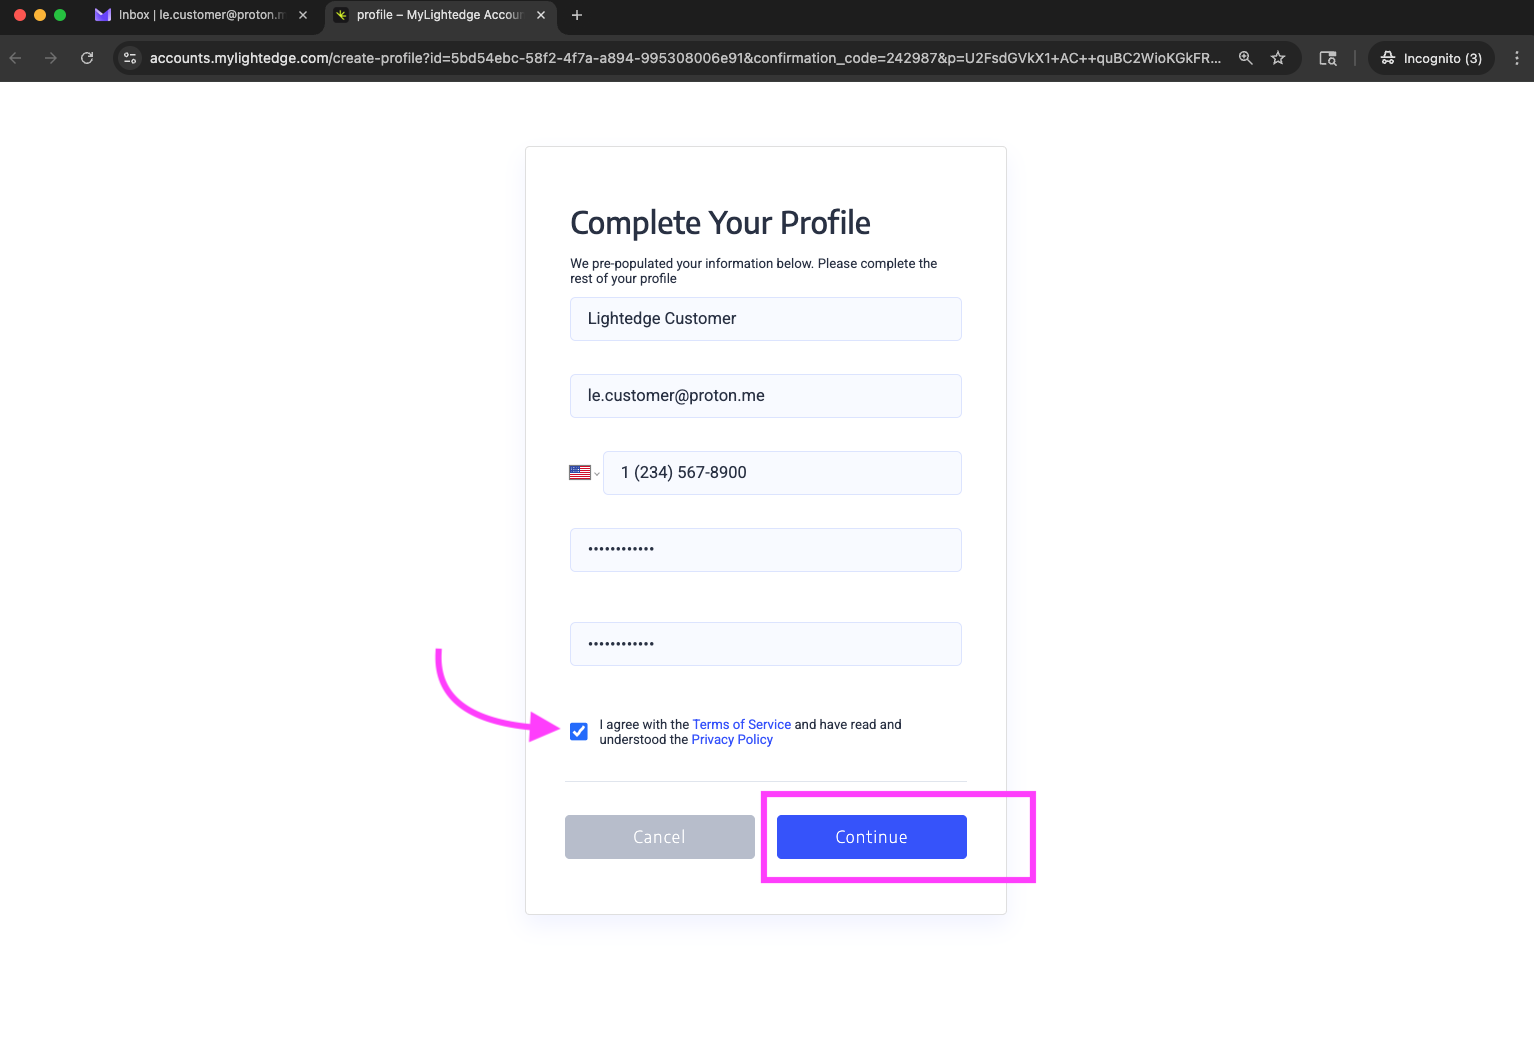
Once you have verified your email, you will be taken to a page to complete your MyLightedge profile by setting up your password. Your password must be at least 12 characters with 1 lowercase letter, 1 uppercase letter, 1 number, and 1 symbol.
Multi-Factor Authentication (MFA)
Attention
If you happen to encounter issues with your MFA/2FA setup or sign in, please reach out to tickets@lightedge.com or call +1 877-589-3654 for assistance.
Once your profile is complete, you will go through the process of setting up MFA for your MyLightedge account.
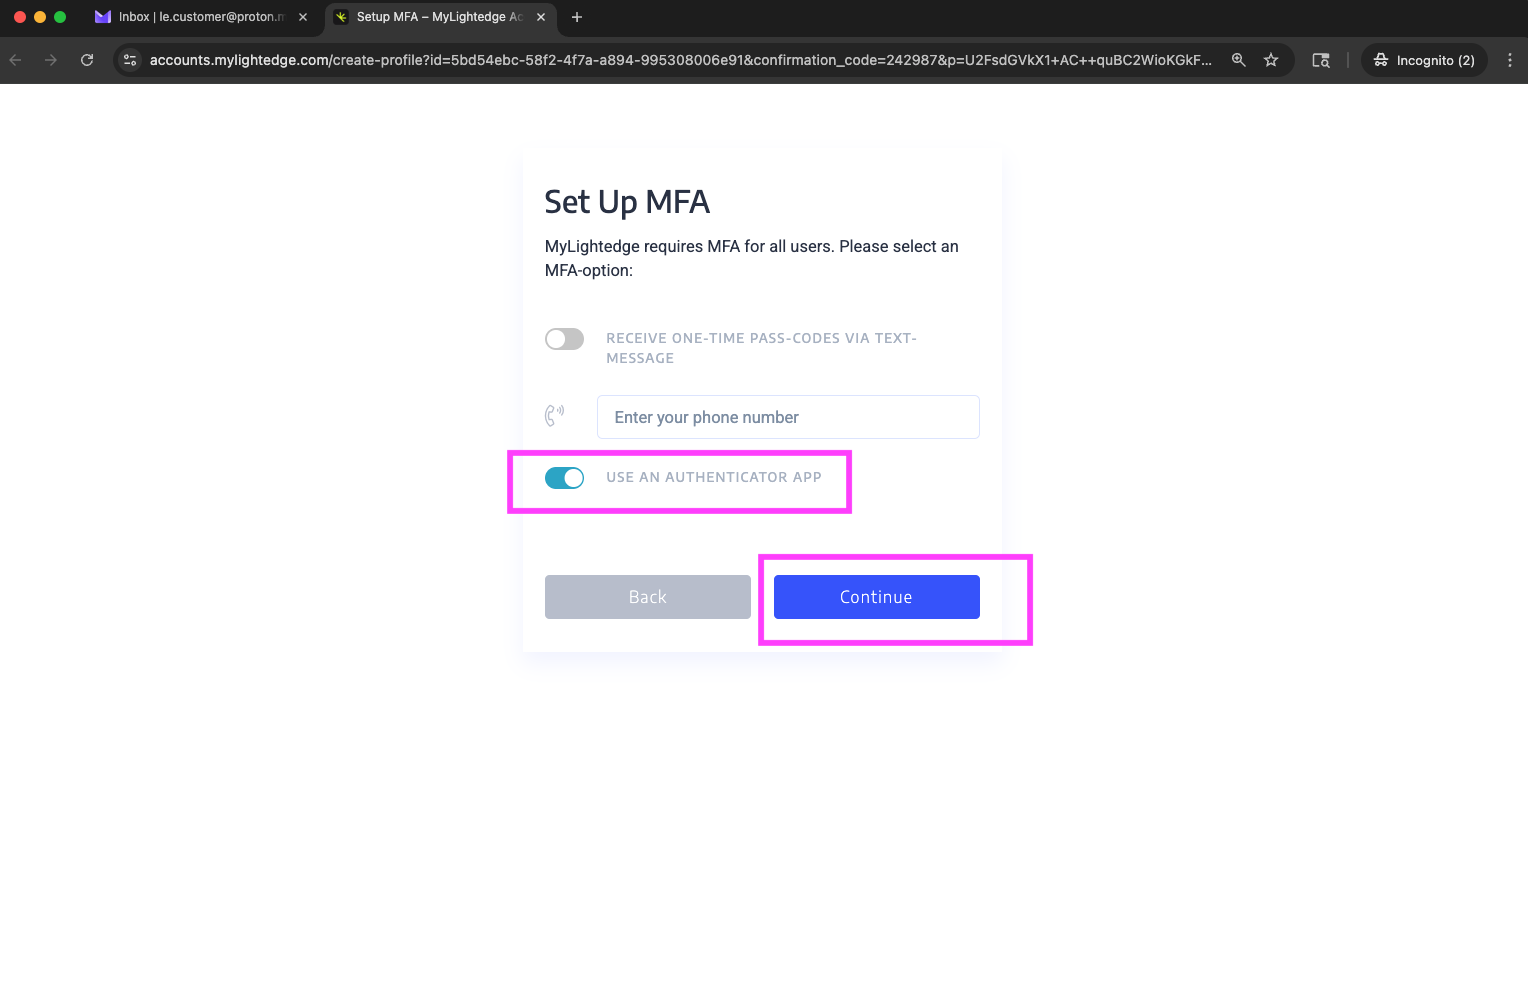
Setup MFA
You can set up your MFA by receiving a One-Time Passcode (OTP) on your mobile phone via:
Text message (SMS) if you are located in the United States or
Authentication app regardless of location
Hint
Please note, MyLightedge’s SMS text message-based MFA is currently only supported for US phone numbers. Authentication by push notification or email is not available.
Select which MFA method you would like to use to for your new MyLightedge account.
Enter the temporary One-Time Passcode (OTP) from your mobile phone and click the ‘Continue’ button to set up your MFA for your MyLightedge account.
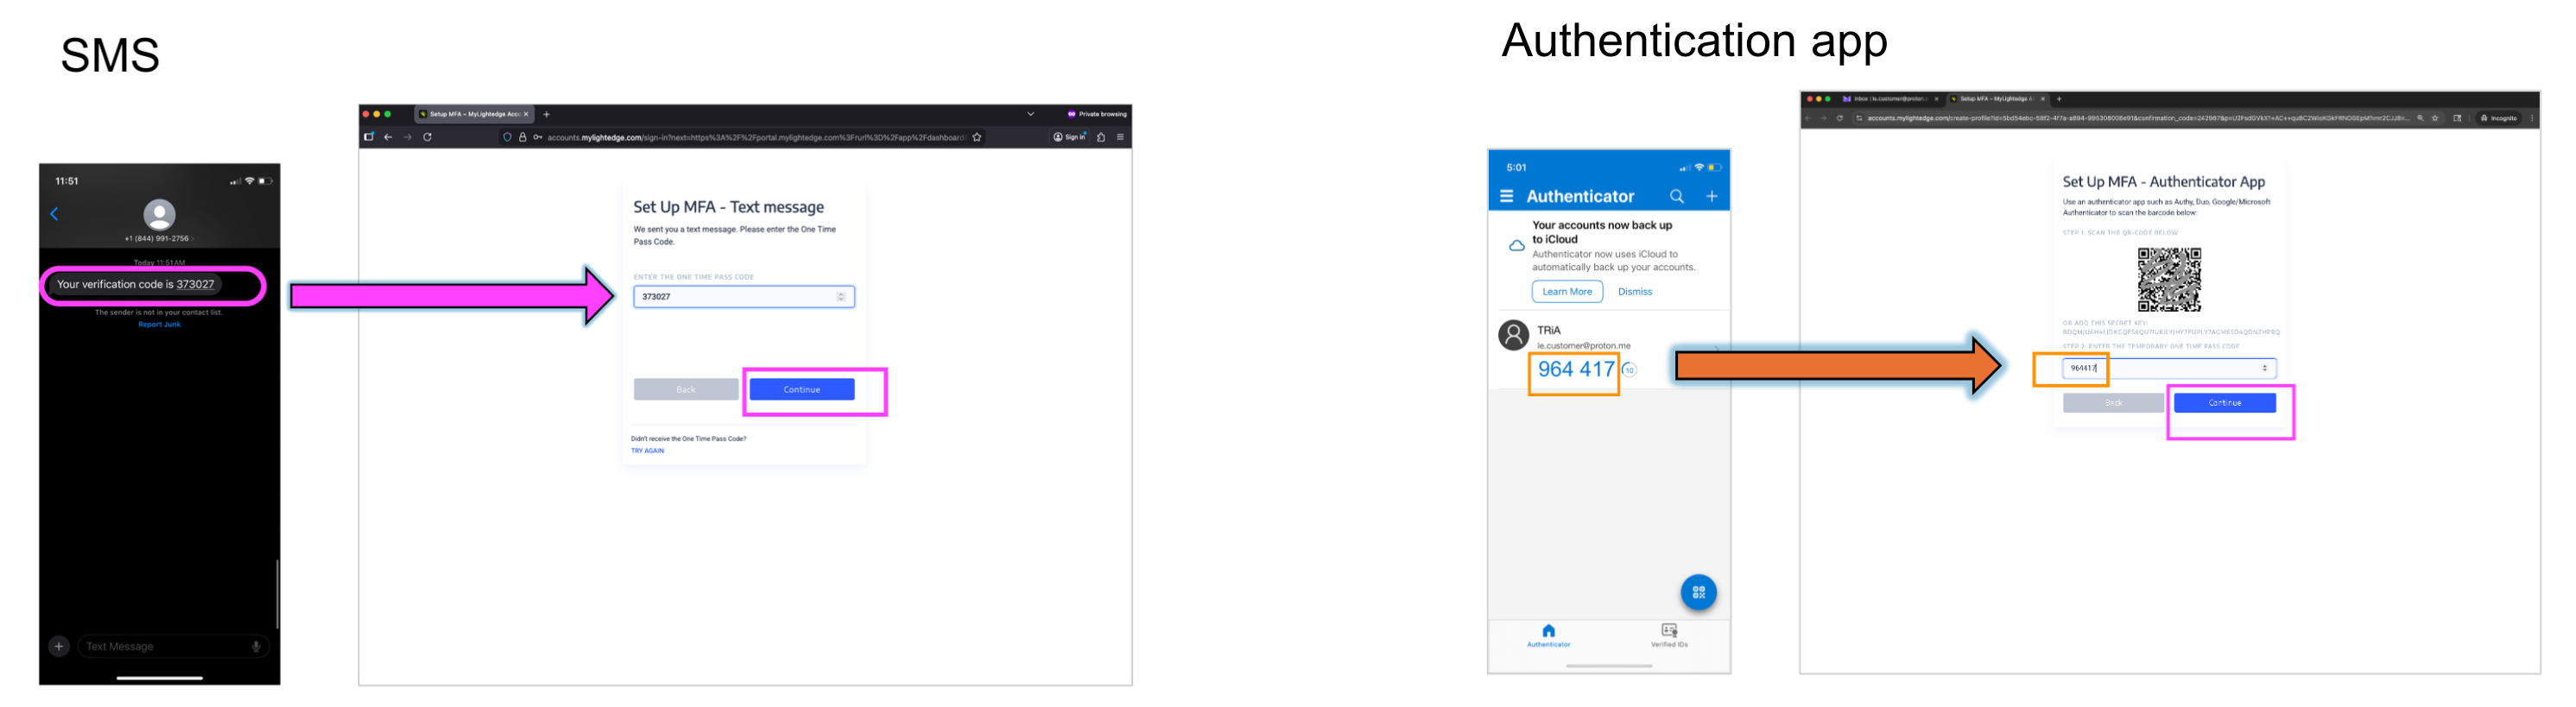
When setting up your MFA, the resulting Authentication app account may initially be named “TRiA” by default. This was the portal’s old name. In your Authentication app, we recommend renaming the account to “MyLightedge Portal.”
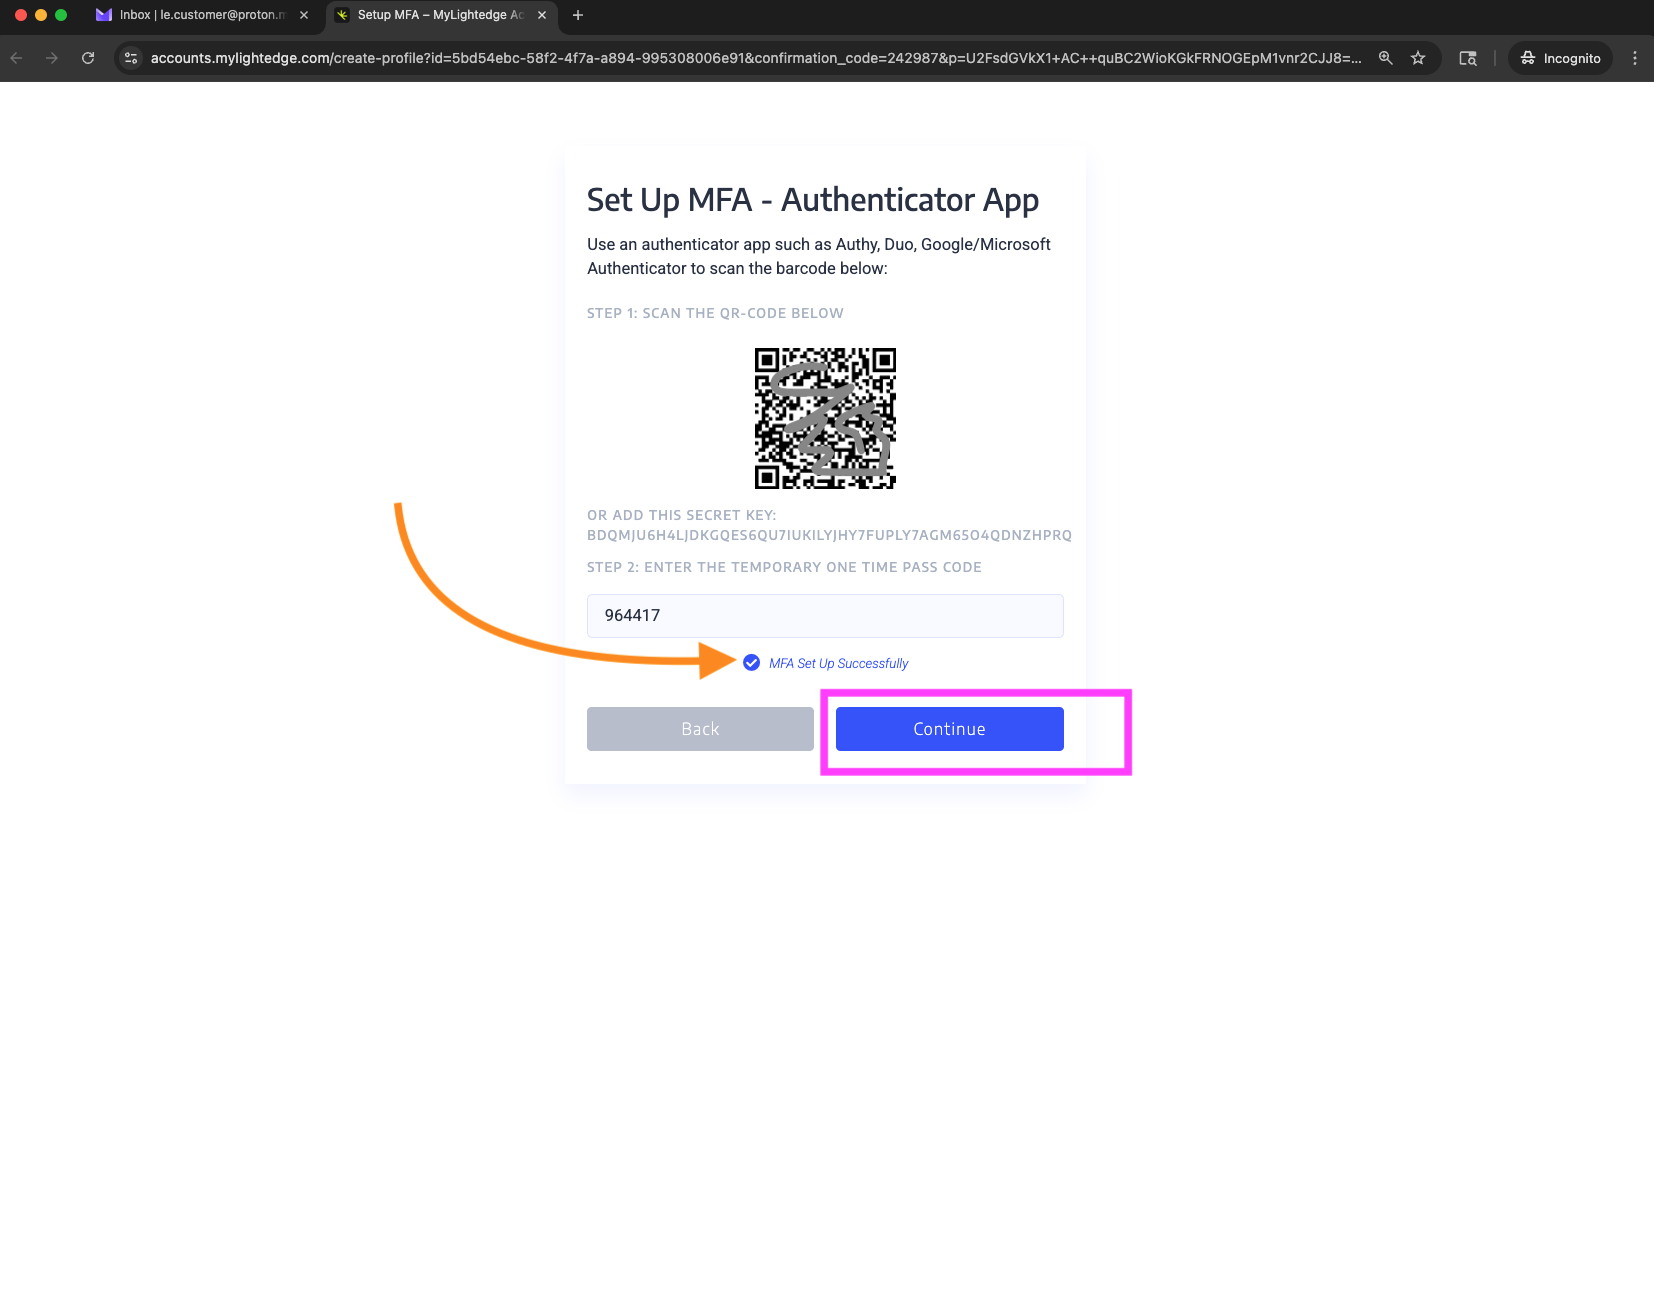
When your MFA setup has been completed successfully, you should see a blue check mark that indicates that your MFA setup was successful.
Click the ‘Continue’ button a second time to get logged into the MyLightedge Portal. From that point onward, a new OTP (One Time Passcode) will be issued to you via your chosen MFA method on any subsequent login to the MyLightedge Portal.
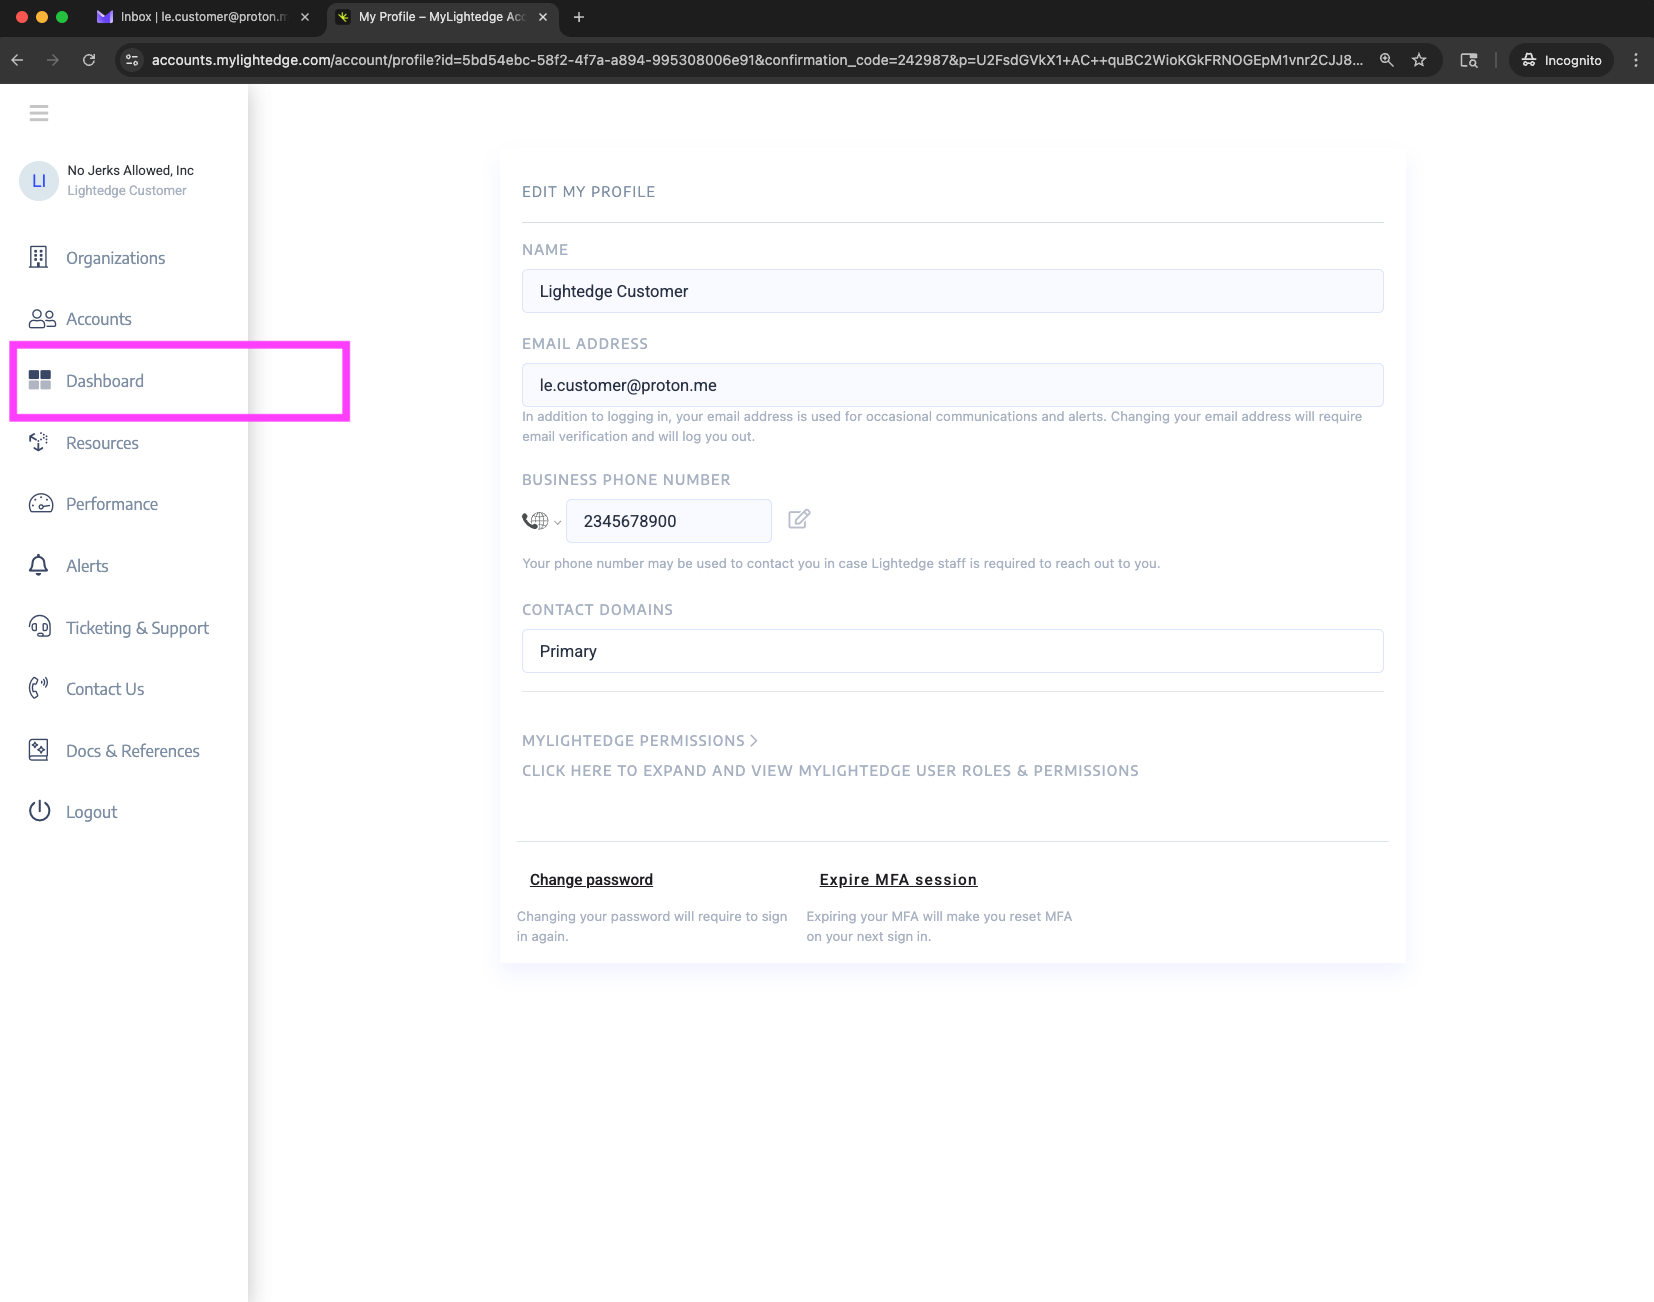
Upon logging into MyLightedge for the first time, you will see your Profile page.
Click the ‘Dashboard’ button on the left side bar to go to the MyLightedge home screen.
Hint
Should you encounter issues, clearing your browser’s cache and attempting the process again has proven helpful for some users.
The MyLightedge Dashboard
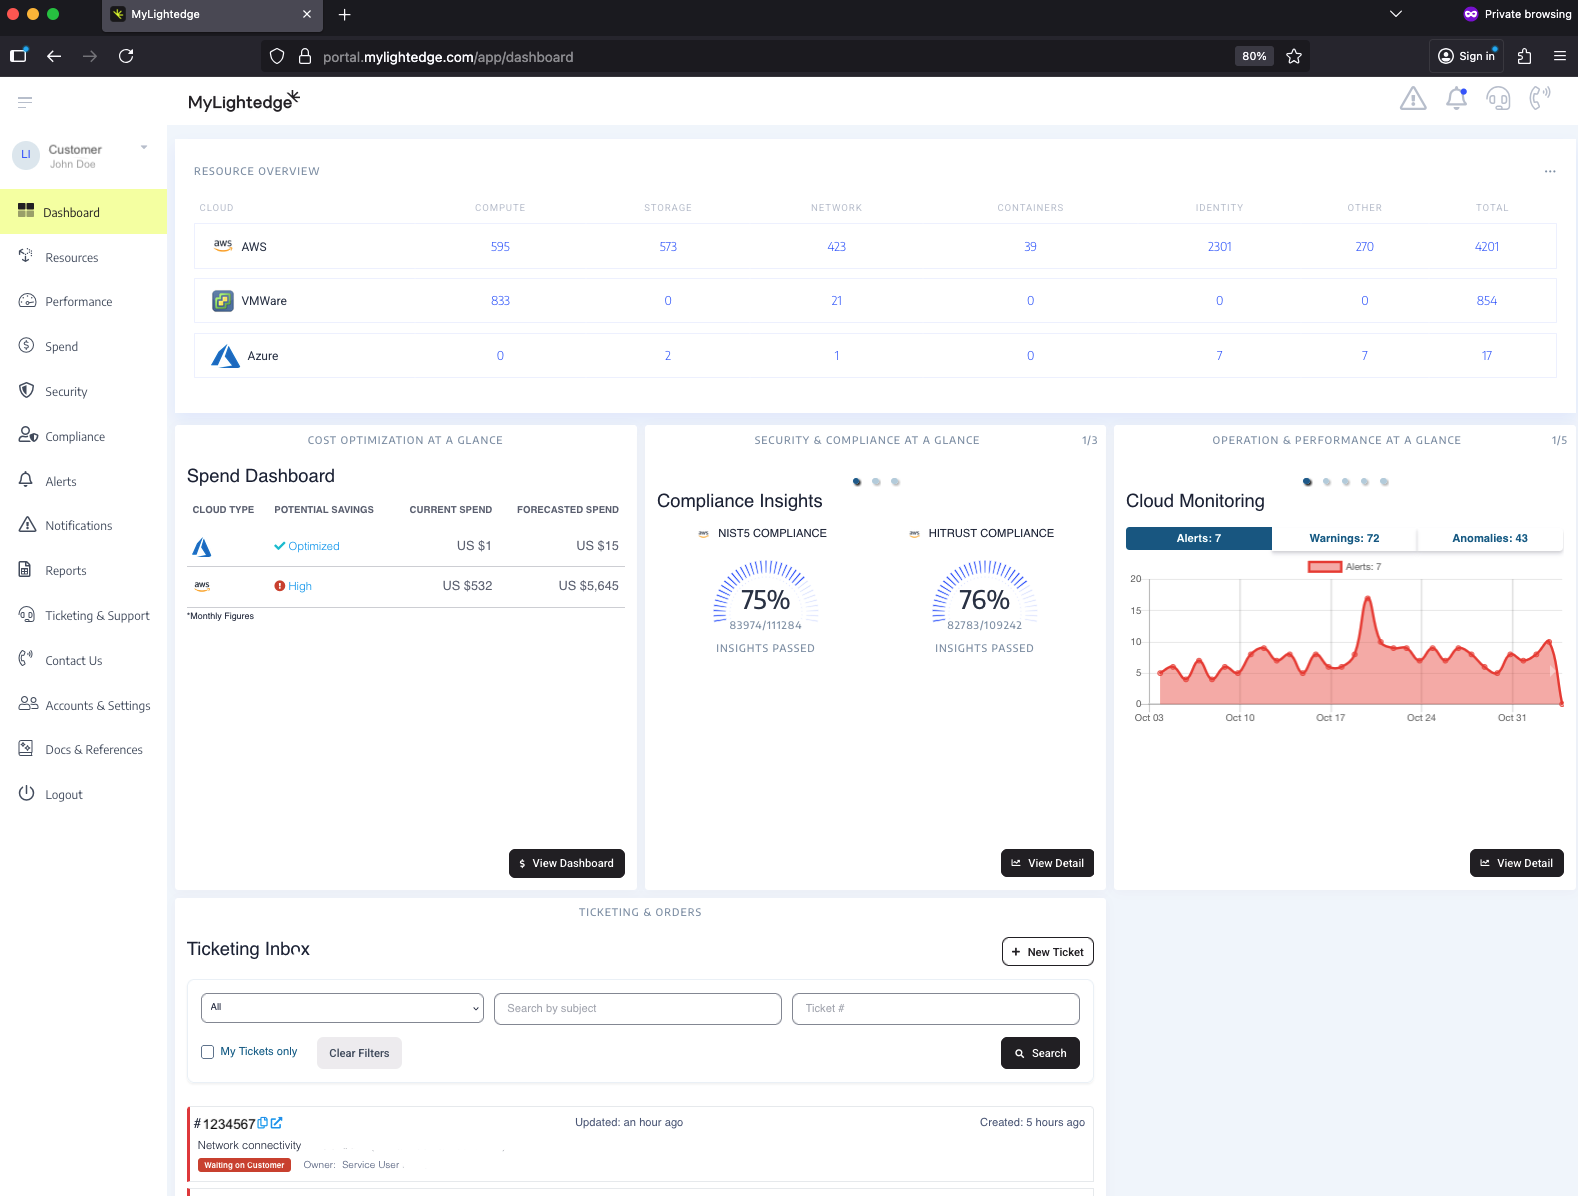
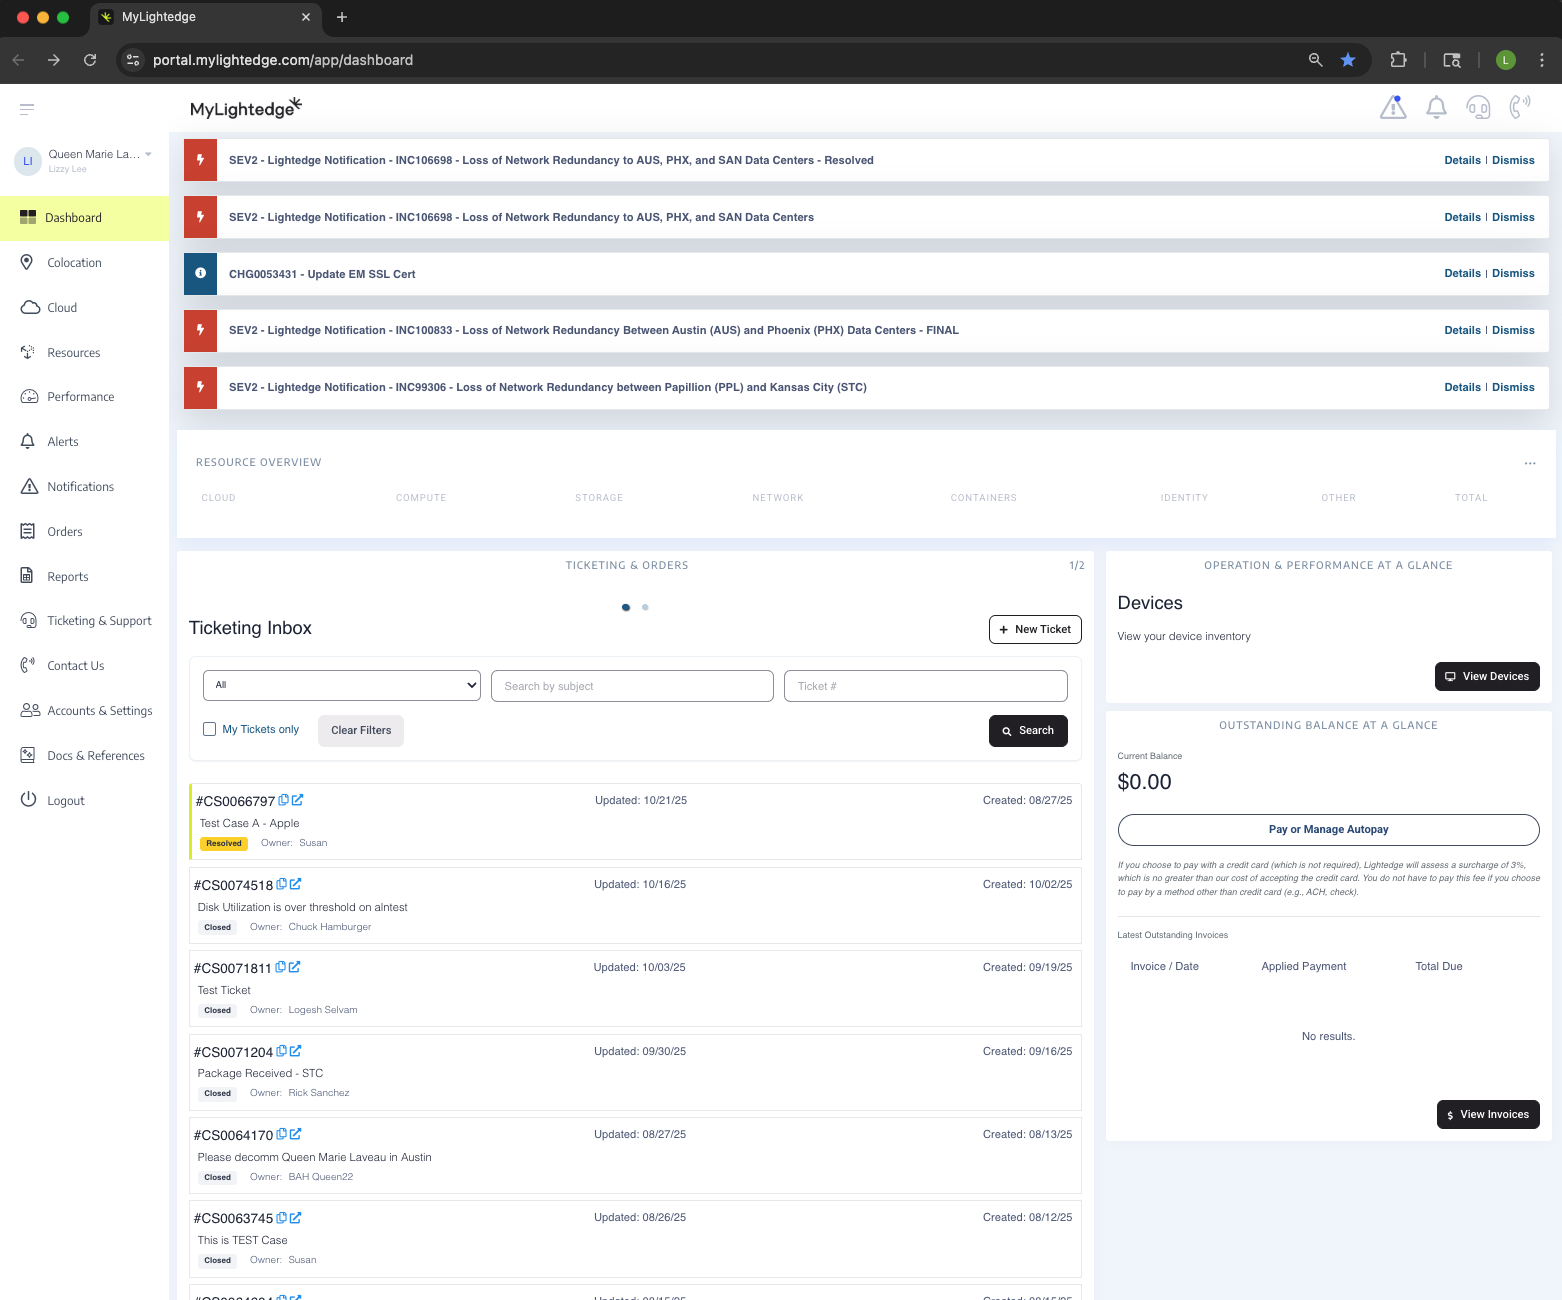
The MyLightedge Dashboard is your entry-point to all its multi-cloud management features. It delivers a single pane of glass to help you quickly understand the state, status and potential shortcomings of your multi-cloud environments. After logging into MyLightedge, this Dashboard will be your home page.
Hint
Your Dashboard view may be different than what is displayed above, as MyLightedge feature availability is dependent on a customer’s specific services, products, and user permissions.
The Dashboard provides a quick and easy overview of your organization’s:
Deployed resources [Resource Management]
Cloud-spend and potential savings [Cost & Optimization],
Security & Compliance insights [Security & Compliance at a Glance],
Operation and performance posture [Operation and Performance],
Tickets your team submitted to Lightedge [Ticketing],
Orders opened for your company.
Contacts for your Lightedge team,
Ability to submit a new ticket [Submit a new Ticket]
Ability to view your Outstanding Balance at a Glance [See Billing & Invoices]
Ability to see most recent Notifications from Lightedge,
Ability to view all other features via the MyLightedge Menu (this is accessible on the left hand side once you click on the hamburger menu at the top left), along with access to external tools.